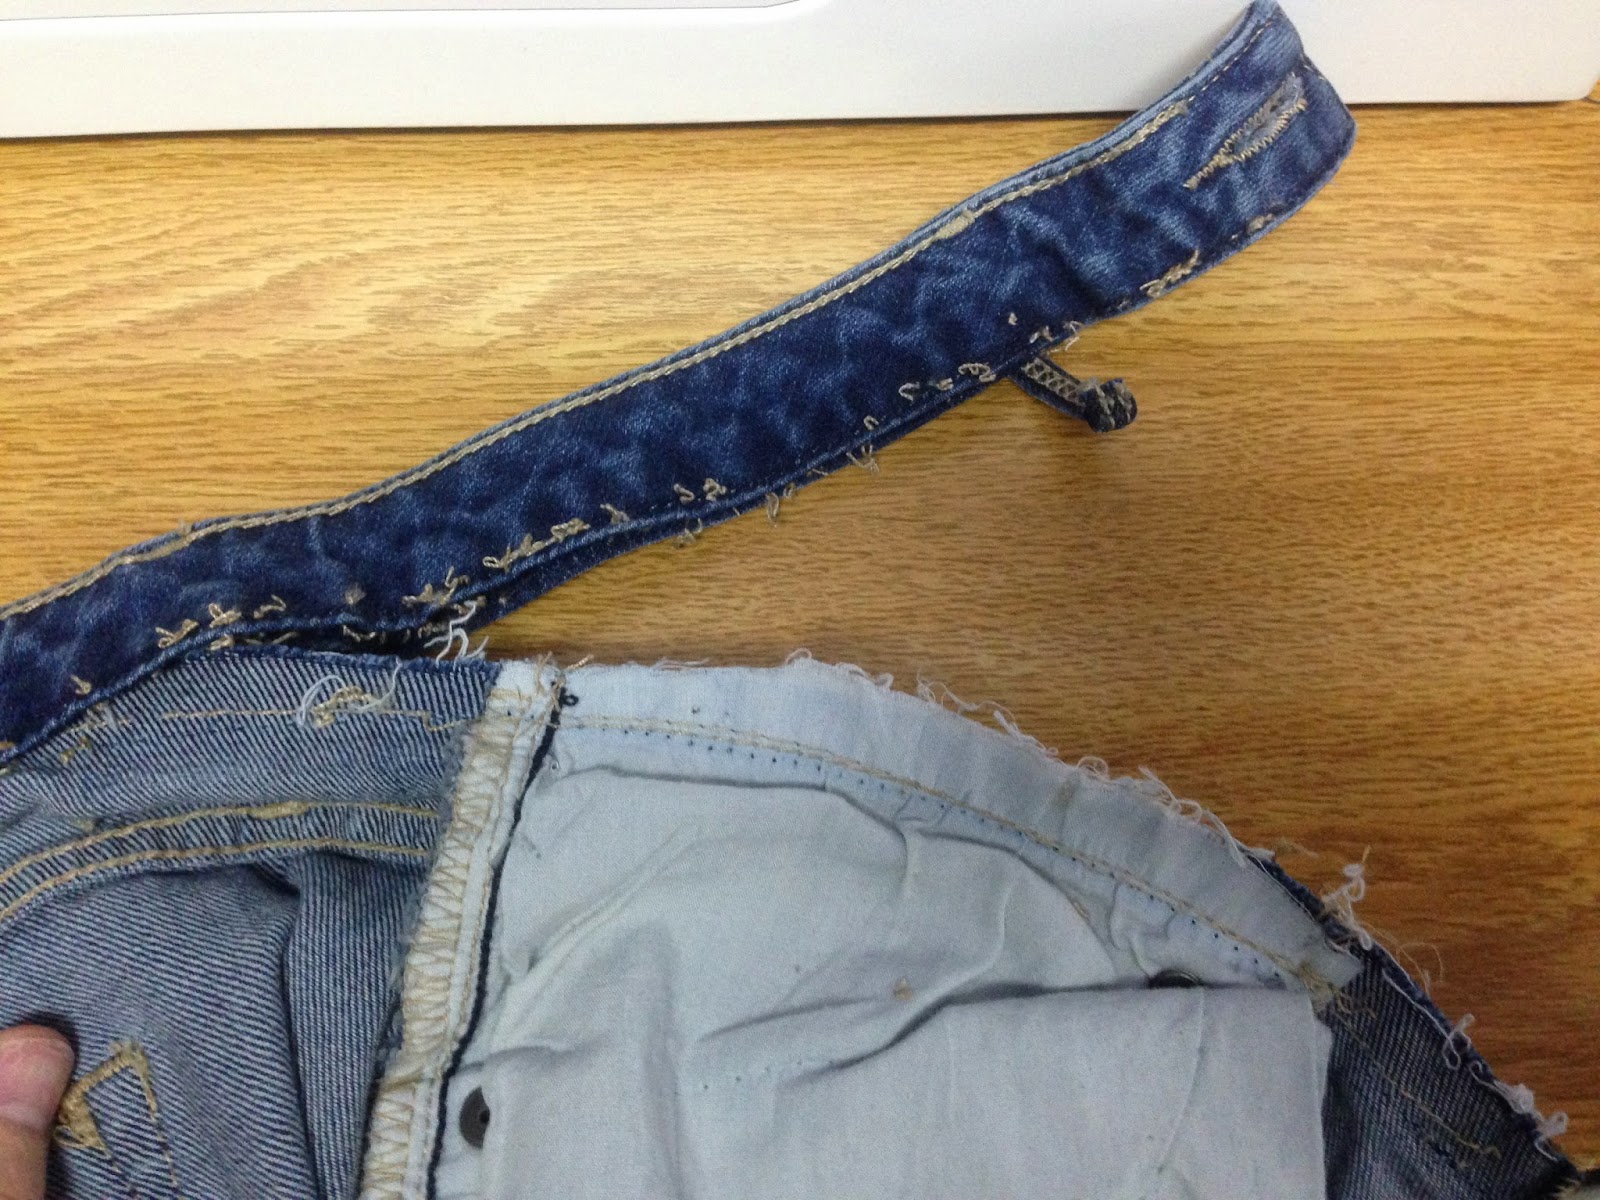
First, is to buy a pair of jeans that you like the fit, but make sure they are 1 size bigger than what you would normally wear. The reason for this is that you will want that little extra room since they aren't stretchy jeans like most maternity jeans are. Since they don't stretch, that little extra room will make things more comfortable when you sit down. Otherwise, they tend to cut in on your belly. I was able to find these on clearance for $12! WooHoo!
Then take a seam ripper and begin to take the top band of the jeans off. The belt loops will have to come off too.
Next, is to remove the zipper from the jeans. Next, use a simple straight stitch to close the opening of the zipper back up.
I then tried my jeans on to see how far down, if at all, I would need to cut down. Typically it will be about half the length of the zipper. I opted to cut out the top brad that was holding the pocket together for a little extra room when I sat down. I didn't want it to cut in to my belly when I sat down. Plus, it helps to make that opening for the panel a little wider which is more comfortable, especially if you happen to be carrying low.
By cutting that pocket brad out, that left a lot of extra material since it opened up the pocket area. That was easily remedied with a simple straight stitch to close it back up.
Next is to make the panel that will go in your jeans. I used a 50% off coupon at the fabric store and was able to get a yard of performance/quick dry material for $7.99! It's normally $15.99. I used a performance material that could also be used for swimming suits. It is a bit slippery, which made things a little more difficult, but you can get material that has a more cotton-like feel that is still stretchy. Make sure the material has spandex in it. The material I used was 12% spandex. Measure the opening width of your jeans and make sure your panel will be the same diameter once it's sewn together. Just remember to leave yourself extra material (an 1 1/2"- 2") for your seams! I folded and ironed the top of the material approx 1/2" and straight stitched that, then did it one more time to have a nice clean edge at the top. I made sure that once the top seam was done, my panel was 12" from top to bottom. I then folded the material in half to stitch the seam in the back to create the panel.
Leave your jeans right side out and turn your panel inside out. Place the panel over the jeans and line up the seam of the panel with the seam of the back of the jeans and pin them together. I did not pin the front of the jeans at this point. It will be slightly easier to do once the panel is already mostly sewn to the jeans. I did a zig-zag stitch approx 1/2" around the jeans twice. Since the material is stretchy, I wanted to make sure there was plenty of stitching to hold the panel to the jeans. Next is to pin the panel to the cut out area in the front of the jeans. This was a little tricky since you have part of the panel folded over itself at that point. Make sure you don't end up sewing the panel to itself. Once that is pinned in place, use a zig-zag stitch again to secure the panel to the jeans approx 1/2" down.
Once the panel is completely secured to the jeans, turn the panel right side out. You're almost done!
Sew a straight stitch just barely into the panel to keep the material looking nice when it is folded right side out. You're now all done! Try them on and see how they feel!
I was able to make these jeans for about $16! Can't beat that! Enjoy!


No comments:
Post a Comment