I did some research on nursing cover patterns and saw some had a pocket on them. I never asked if that would be helpful, so I put one on there anyway. I also had an idea to help keep the cover compact when in the diaper bag. I've heard you want to try to get as much as you can into one of those so you aren't carrying a suitcase with every time you go out with the baby. So I added a string to this cover that will allow you to fold it up quickly and tie it off so it stays neatly in your diaper bag.
Here is how I made it...
Took my fabric and measured out the various pieces I would need and got them all cut first. The main piece was 43"x30", the neck strap was 30"x4" and the pocket was 8"x10". The strap I made later for tying the cover rolled up was 24"x2".
I ironed the edges down and put a simple straight stitch down the sided. I folded the edges twice to help hide the raw edge of the fabric that has no design on it.
Next, I worked on the pocket. I ironed the pocket in half (inside out) so it would be 8"x5" and stitched along the open edges. Then trim the corners so it will fold out better. I left about a 3" gap to then turn the fabric back to right side out. Stitch the pocket onto the main piece of fabric. I placed mine approx. 6" from the bottom of the main piece of fabric and 8" from the side. Sew the sides and the bottom to the main piece of fabric. I went back and forth just along the top sides of the pocket to help reinforce the top edges where the top of the pocket and the fabric meet.

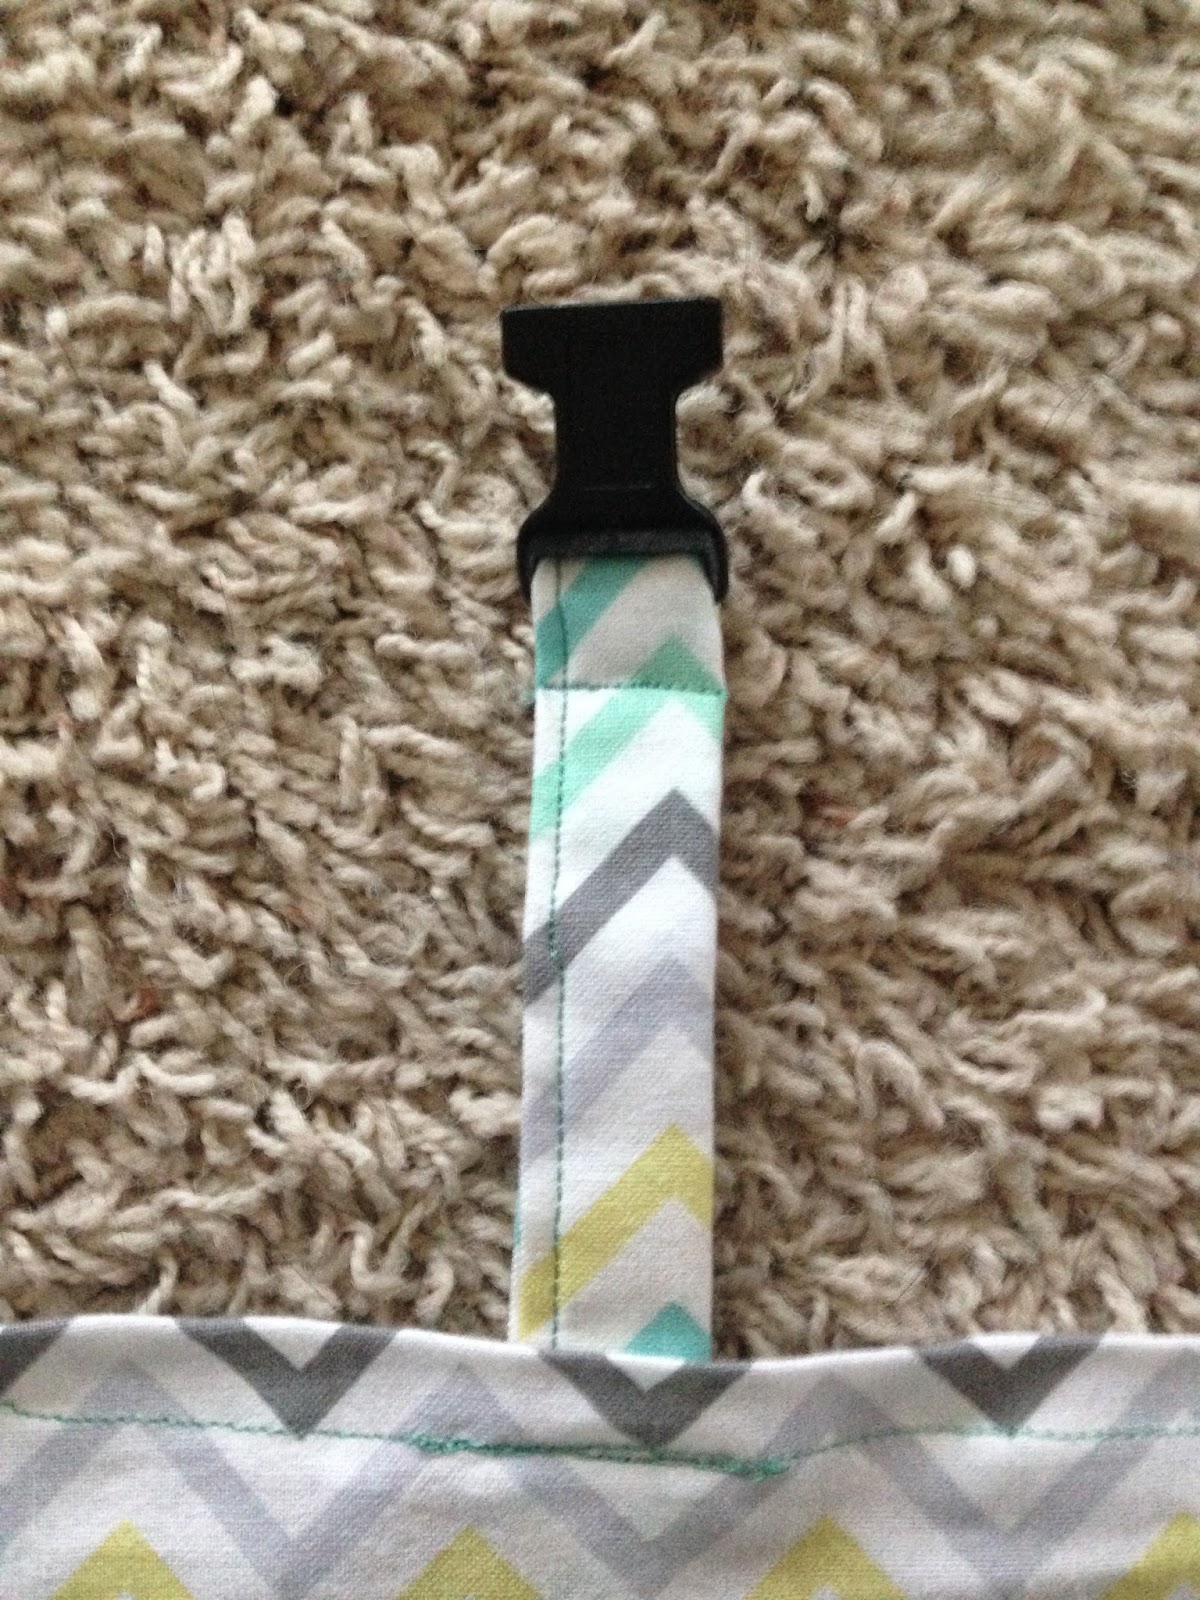
Next was the neck strap. I used a small clip as a way to secure it. I also made it so it could be adjustable. I first took the piece I had cut and cut approx 8" off to make the smaller strap that goes on part of the clip. I folded that over onto itself with the cut edges in the middle. I then stitched along one side to close it. After feeding it through the clip, I made a stitch as close to the clip as I could get. I measured and found the center of the top of the fabric. I then secured that smaller strap to the main piece of fabric approx 8" from the center of the fabric.

I made the longer strap the same way I did the smaller one; by folding it over onto itself and stitching along the edge. This one, I then fed through the other half of the clip and folded the end down onto itself and stitched that so the strap would not fall through the clip.
I again measured 8" from the center that I found before and secured. the longer strap. That gives you approx 16" between straps, and they will be centered on the fabric. I went back and forth over the straps to strengthen the stitch.
Last, but not least was the small strap that is used to tie the cover when it it's rolled up. A piece of strong ribbon might work as well if you don't want to make another strap. This was made the same way as the neck strap. Once it was ironed and stitched into a strap, I then folded the ends over and stitched them to secure them. I then folded the nursing cover and rolled it to find which edge to put the tie on. I discovered that to help keep the neck strap secured inside when rolled up, it worked best to secure it to the top of the nursing cover. This was stitched onto the front side of the cover in the center of the strap.
Here is the finished nursing cover. Look how neatly it can be secured! Enjoy your new nursing cover!


No comments:
Post a Comment